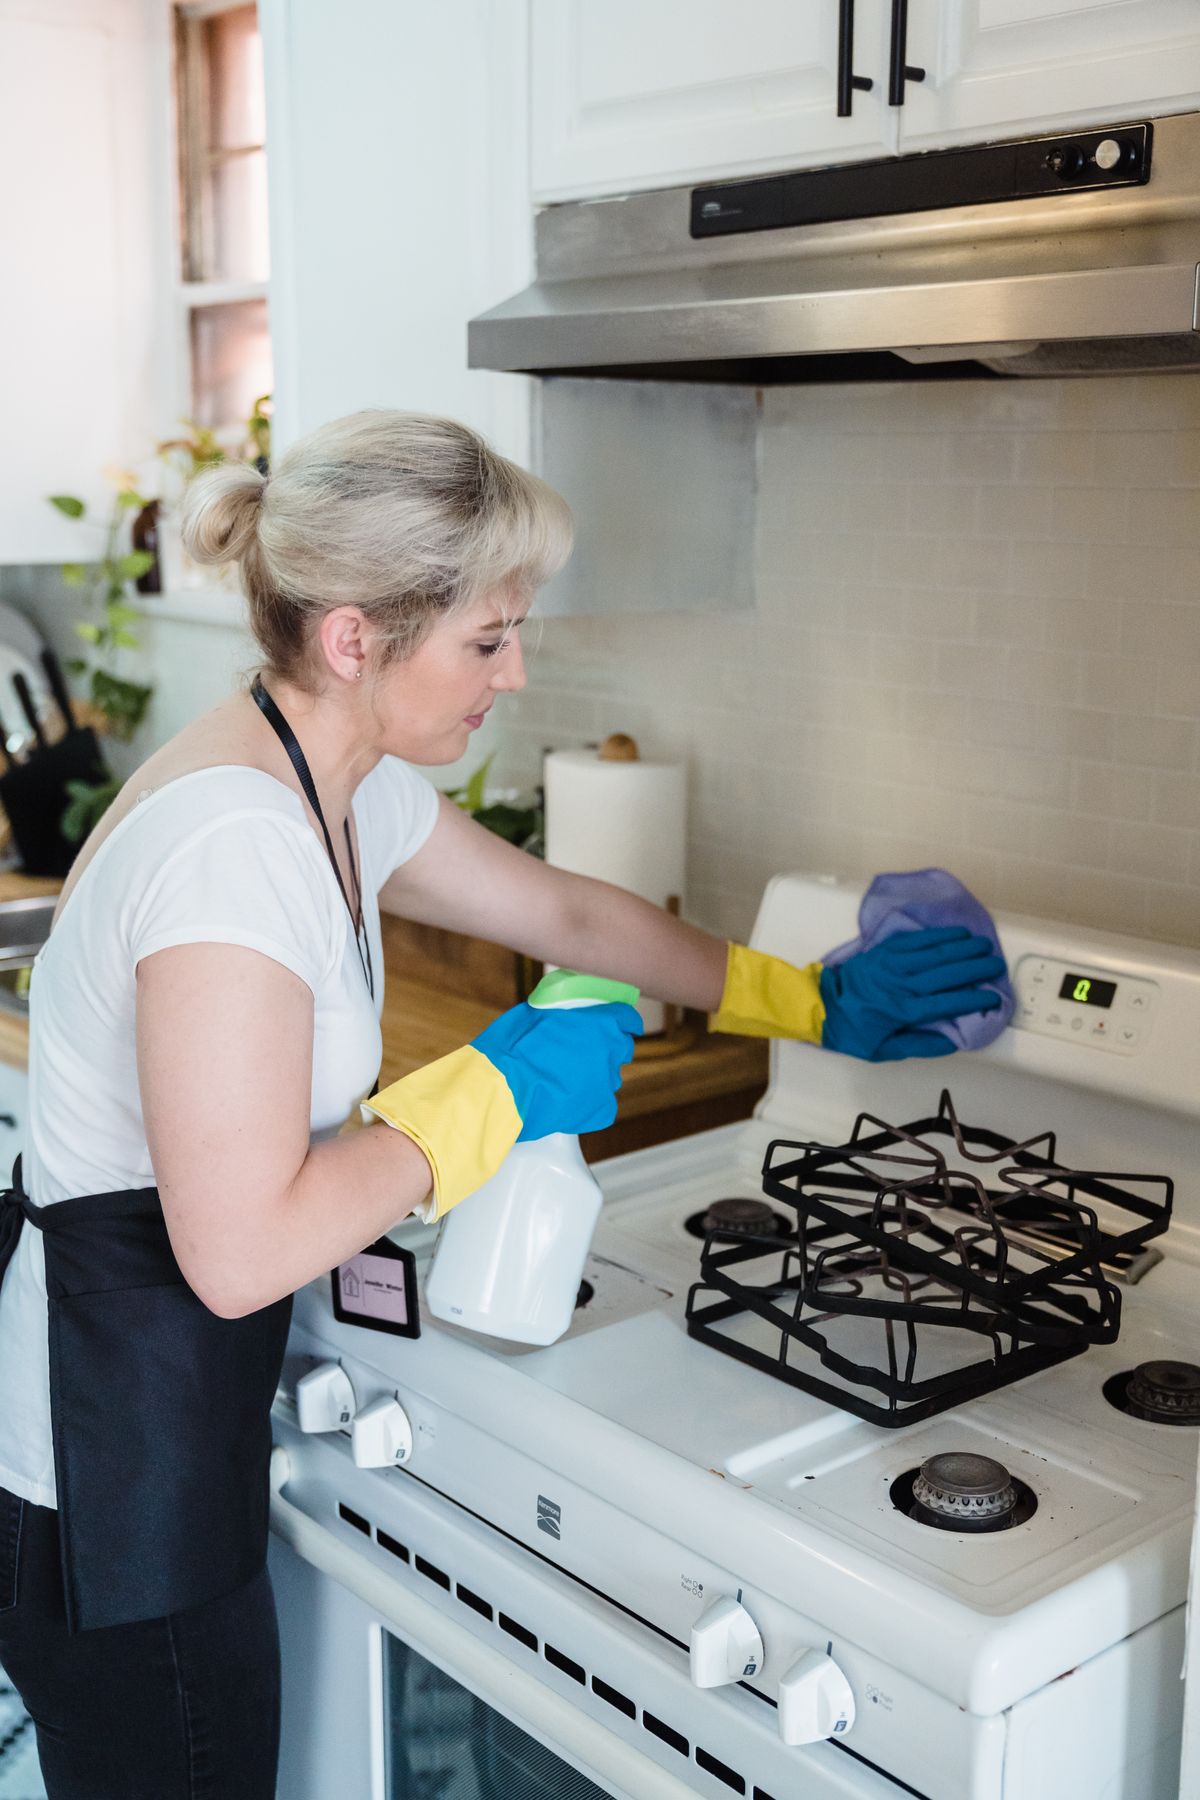
QUICK ANSWER: HOW TO DEEP CLEAN A NINJA AIR FRYER SAFELY To deep clean a Ninja air fryer safely, always unplug the appliance and allow it to cool completely for at least 30 minutes. Remove the basket and crisper plate, then soak them in hot water combined with grease-cutting dish soap. For persistent, baked-on grease, apply a paste made from three parts baking soda and one part water, letting it sit for 20 minutes before gently scrubbing with a non-scratch sponge. Invert the cooled unit to access the interior cavity and heating element. Clean the element and metal walls using a damp microfiber cloth and a soft-bristled toothbrush moistened with mild soapy water, taking strict care never to saturate electrical components. Wipe all interior and exterior surfaces with a clean, damp cloth, dry every component thoroughly with a lint-free towel, and reassemble only when completely moisture-free.
WHY BAKED-ON GREASE AND BURNING ODORS OCCUR
Ninja air fryers rely on powerful convection fans that circulate scorching air at speeds up to several thousand revolutions per minute. While this mechanism produces the signature crispy finish on chicken wings, french fries, and roasted vegetables, it also atomizes cooking oils and animal fats. As air rushes across the food, fine droplets of grease are carried upward and outward, depositing onto the nonstick basket, the interior metal housing, and the heating element coils above. Over multiple cooking sessions, heat polymerizes these residual oils. Polymerization transforms liquid oil into a tough, varnish-like coating that clings tenaciously to nonstick surfaces and stainless steel walls. When left uncleaned, this hardened grease reheats every time the appliance runs, generating acrid white smoke, altering the flavor profile of delicate ingredients, and presenting an unnecessary fire hazard. Routine surface rinses fail to break down this polymerized layer, which is why a methodical deep-cleaning routine is essential for optimal performance, appliance longevity, and kitchen safety. ESSENTIAL MATERIALS AND TOOLS NEEDED Gathering the correct supplies before beginning prevents damage to delicate nonstick coatings and sensitive electronic displays. Never reach for industrial degreasers or abrasive scouring pads, which permanently compromise appliance finishes. 1. Grease-cutting liquid dish soap, such as standard blue Dawn or an equivalent concentrated formula. 2. Baking soda (sodium bicarbonate), ideal for creating a gentle, non-abrasive abrasive paste. 3. Distilled white vinegar, used diluted in water for odor neutralization and mineral deposit clearing. 4. Soft microfiber cleaning cloths to trap lifted grease without scratching exterior plastics or interior coatings. 5. Non-scratch nylon scrubbing sponge, verified safe for nonstick cookware (look for blue or yellow-and-blue domestic pads). 6. Soft-bristled toothbrush or nylon kitchen detailing brush for tight crevices, basket grates, and element contours. 7. Wooden kitchen skewer or round toothpicks for clearing trapped debris from small vent slots. 8. Dry, lint-free dish towels for comprehensive moisture removal. 9. Shallow baking dish or sink basin large enough to submerge removable components. STEP-BY-STEP DEEP CLEANING INSTRUCTIONS Follow these sequential steps to refresh your Ninja air fryer from the inside out while fully safeguarding the motor, heating assembly, and nonstick coating.
Step 1: Power Down, Unplug, and Ensure Complete Cooling
Safety is paramount when working with counter-top electrical appliances. Unplug the power cord from the wall outlet. Never attempt to clean an air fryer while it is plugged in or immediately after cooking. Allow the unit to sit undisturbed on a heat-resistant surface for a minimum of 30 to 45 minutes. Attempting to wash a hot basket or spray liquids into a hot chamber risks thermal shock, which can warp metal baskets and cause nonstick surfaces to peel or blister.
Step 2: Disassemble and Soak Removable Components
Slide the air fryer basket out of the main housing and remove the crisper plate or multi-layer rack. Inspect the silicone rubber bumpers on the edges of the crisper plate. If your model features removable bumpers, pop them off gently to ensure food debris and stagnant moisture are not trapped underneath. Fill your kitchen sink or a washbasin with hot tap water and add two tablespoons of concentrated, grease-cutting liquid dish soap. Agitate the water to generate suds, then submerge the basket and crisper plate completely. Allow them to soak for 20 to 30 minutes. The hot soapy water works to soften stubborn fats and emulsify light grease coatings without any scrubbing effort on your part.
Step 3: Lift Baked-On Grease from Baskets and Plates
After soaking, evaluate the remaining residue on the basket floor and crisper plate grates. For light residue, a non-scratch sponge will easily lift the softened grease. Rinse thoroughly under warm running water. For heavy, brown, polymerized grease patches, mix three tablespoons of baking soda with one tablespoon of warm water to create a spreadable paste with the consistency of toothpaste. Smear this mixture over the burnt-on areas using your fingertips or a soft sponge. Let the paste rest on the nonstick surface for 15 to 20 minutes. Baking soda is mildly alkaline, allowing it to dissolve organic fatty acids without scratching delicate nonstick PTFE or ceramic surfaces. Use a soft-bristled toothbrush to scrub the grates, vent holes, and corners where grease gathers. Rinse thoroughly with clean warm water until zero powdery residue remains.
Step 4: Position and Inspect the Interior Cavity
With the basket removed and drying on a counter towel, turn your attention to the main cooking chamber. For easier visibility and ergonomic access, gently turn the entire Ninja unit upside down or tip it onto its back on a stable countertop protected by a thick folded towel. Examine the interior ceiling where the coil heating element and fan are situated. You will likely observe darkened splatter, grease film, or charred crumbs adhering to the coils and the surrounding metal housing.
Step 5: Safely Clean the Heating Element and Upper Chamber
Never pour water or spray household cleaning solutions directly into the heating cavity. Moisture intrusion into the internal motor assembly or wiring harnesses will cause catastrophic electrical shorting or total appliance failure. Dampen a clean microfiber cloth in warm water mixed with a few drops of dish soap. Wring the cloth out vigorously until it is barely damp and not dripping. Carefully wipe down the stainless steel or galvanized interior walls of the chamber. To clean the heating element itself, lightly moisten your soft-bristled toothbrush with the mild soapy solution, shaking off any excess liquid. Gently brush the surface of the metal coil to dislodge carbonized grease particles. Support the coil gently if necessary, taking great care not to bend, warp, or displace the element or its mounting brackets. Follow immediately with a damp microfiber cloth to wipe away the loosened grease and residual soap film. Repeat this process with a clean, water-only damp cloth to eliminate soap residue completely.
Step 6: Detail the Outer Housing, Control Panel, and Vents
The exterior of your Ninja air fryer collects kitchen dust, airborne cooking oils, and fingerprint smudges. Prepare a fresh cloth dampened only with warm water and a single drop of dish soap. Wring it out completely before wiping the digital touchscreen, control dial, handle, and plastic shell. For greasy buildup on exterior seams or rubber feet, use a damp corner of the microfiber cloth wrapped over an index finger. Inspect the rear air exhaust vent and intake louvers. Dust and pet hair often collect here, restricting critical airflow. Use a dry wooden skewer or a dry soft toothbrush to dislodge trapped lint and dust from the plastic vents, wiping them clear with a dry towel.
Step 7: Dry Thoroughly and Reassemble
Moisture is the primary enemy of electrical appliances and can encourage mildew or rust inside dark internal cavities. Hand-dry the basket, crisper plate, silicone bumpers, and interior chamber using a clean, lint-free dish towel. Allow all components to air-dry on a countertop rack for an additional 30 to 60 minutes before reassembling. Reattach the silicone bumpers securely to the crisper plate, slide the plate back into the basket, and insert the basket into the housing until it clicks into position.
Step 8: Run a Short Dry Burn-Off Cycle
Once reassembled, plug the appliance back in. Set the air fryer to run empty at 350 degrees Fahrenheit for 3 to 5 minutes. This brief heating cycle evaporates any microscopic moisture traces left behind on the heating element and verifies that all soap residue has been fully neutralized. If you detect any faint detergent smell, run it for an additional two minutes in a well-ventilated kitchen.
WHAT NOT TO DO WHEN CLEANING A NINJA AIR FRYER
Preserving the integrity of your appliance requires steering clear of standard aggressive cleaning habits that ruin small kitchen electrics: 1. Never submerge the main power unit in water or place it under a running faucet. The primary housing contains sensitive computer boards, fans, and wiring that must remain entirely dry. 2. Never use steel wool, stainless steel scouring pads, brass wire brushes, or abrasive scrub sponges (such as heavy-duty green scouring pads). These destroy nonstick surfaces instantly, exposing raw aluminum underneath and causing permanent food sticking. 3. Never spray commercial oven cleaners, heavy industrial degreasers, or chlorine bleach into the air fryer. Oven cleaners are designed strictly for porcelain-enameled heavy steel and will etch the soft metals, melt plastic housings, ruin nonstick coatings, and release hazardous toxic vapors when the unit is subsequently heated. 4. Never use aerosol cooking sprays (such as nonstick vegetable oil sprays containing soy lecithin) inside your air fryer. Lecithin burns at low temperatures and leaves an impenetrable gummy residue that is virtually impossible to clean off nonstick baskets without damaging the surface. 5. Never scrape food remnants with metal forks, kitchen knives, or metal spatulas. Always utilize silicone, wood, or heat-resistant nylon implements to protect internal linings. CRITICAL SAFETY, ELECTRICAL, AND MATERIAL WARNINGS Chemical Safety and Mixing Warnings: Never mix household cleaners. Under no circumstances should you combine bleach with ammonia, acids, vinegar, toilet bowl cleaners, or other cleaning products. Combining bleach with acids or ammonia generates dangerous chloramine or chlorine gas, which causes severe respiratory irritation and serious health complications. For air fryers, stick strictly to food-safe, gentle agents: standard dish soap, baking soda, and water. Ventilation Guidelines: When performing deep cleaning on greasy kitchen appliances, maintain adequate ventilation. Open nearby windows or run your kitchen range hood exhaust fan, especially when performing the post-cleaning dry burn-off cycle, to keep indoor air fresh and clear of steam or residual odors. Surface Protection Warnings: Take extra care with your kitchen countertops. If you possess natural stone surfaces such as marble, granite, limestone, or quartzite, avoid placing acidic solutions (like vinegar mixtures) or damp, oily baskets directly on the stone. Acidic substances cause permanent etching and dull spots on unsealed or sealed natural stones. Always place appliance components and wet cloths onto clean, thick cotton towels or protective silicone mats. Delicate Finishes and Decals: Avoid scrubbing over printed button labels, temperature guides, or brand logos on the appliance exterior with abrasive powders or rough cloths. Vigorous wiping can erase silkscreened control markings permanently. PROACTIVE MAINTENANCE AND ODOR PREVENTION TIPS Keeping your Ninja air fryer clean between deep-cleaning intervals requires minimal daily effort and saves hours of intense scrubbing down the road. Perform a Quick Post-Cook Wipe: After every single use, once the basket cools to a comfortable temperature, dump out pooled drippings into a heat-safe container (never down the sink drain). Wipe the basket and crisper plate with a warm, damp, soapy paper towel or sponge, rinse, and dry. Removing oils while they are fresh stops polymerization before it begins. Use Perforated Parchment Liners Correctly: Food-grade, unbleached perforated parchment paper designed specifically for air fryers catches crumbs and grease while maintaining convective airflow. Always ensure adequate food weight rests atop the liner so the high-speed fan does not pull the paper into the heating element, where it can ignite. Steam-Clean for Odor Neutralization: If your air fryer develops lingering odors from pungent foods like fish, garlic, or spiced wings, use natural steam deodorizing. Place an oven-safe small ramekin or shallow ceramic dish containing half a cup of water and two tablespoons of fresh lemon juice into the air fryer basket. Run the machine at 350 degrees Fahrenheit for 5 minutes. The acidic citrus steam breaks down clinging aromatic oils and softens light grease splashes on the heating coils, allowing you to wipe them away effortlessly with a dry cloth once cooled. Manage Fatty Ingredients: When preparing high-fat foods such as bacon, pork belly, or skin-on sausages, add one to two tablespoons of water or a single slice of bread to the bottom of the outer pan underneath the crisper plate. The water or bread captures hot dripping fat, preventing it from smoking and splashing upward against the radiant element.
FREQUENTLY ASKED QUESTIONS
Can I clean my Ninja air fryer basket and crisper plate in the dishwasher?
While Ninja explicitly states that certain baskets and crisper plates are dishwasher-safe, hand washing is strongly recommended by appliance care specialists. The harsh detergents, high water temperatures, and aggressive drying cycles of residential dishwashers accelerate the degradation of nonstick coatings, weaken silicone bumpers, and can cause outer metal finishes to oxidize or discolor over time. Hand washing with liquid dish soap and a soft sponge ensures maximum nonstick performance for years.
How do I remove sticky, yellow grease residue from the plastic exterior?
Yellow, sticky residue on the exterior plastic is vaporized grease that has settled and hardened. To remove it safely without dulling glossy plastic or scratching the finish, dampen a microfiber cloth with warm water and a dime-sized drop of grease-cutting liquid dish soap. Rub the sticky spots in small circular motions. For hardened spots, apply a paste of baking soda and water, let it sit for five minutes, and gently wipe clean with a wet cloth. Avoid alcohol-based solvents or acetone, which dissolve or cloud consumer plastics.
Why is my Ninja air fryer smoking during cooking?
White smoke during air frying is almost always caused by grease accumulation. Either excess fat from high-fat ingredients is splashing directly onto the hot heating element, or older polymerized grease left on the heating coil or basket basin has reached its smoke point. Unplug the machine, allow it to cool, and inspect the heating element and base pan for accumulated oils. Cleaning the element using the soft brush and soapy water method detailed above will eliminate persistent smoking issues.
How often should a Ninja air fryer be deep cleaned?
Removable baskets and crisper plates should be washed after every single use without exception. The internal cooking cavity, exterior housing, and upper heating element should be deep cleaned every 10 to 15 uses, or immediately if you notice lingering burnt odors, visible oil accumulation on the ceiling, or white smoke during operation.
Can I use vinegar to clean the interior of my air fryer?
Yes, diluted white vinegar is safe for cleaning the non-electrical metal walls of the cooking chamber and eliminating foul odors. Mix equal parts distilled white vinegar and warm water in a bowl, moisten a microfiber cloth, wring it out completely, and wipe down the metal walls. However, avoid applying undiluted vinegar directly to the heating element or leaving acidic solutions on silicone bumpers and rubber seals for prolonged periods, as repeated acidic exposure can degrade rubber flexibility over time.