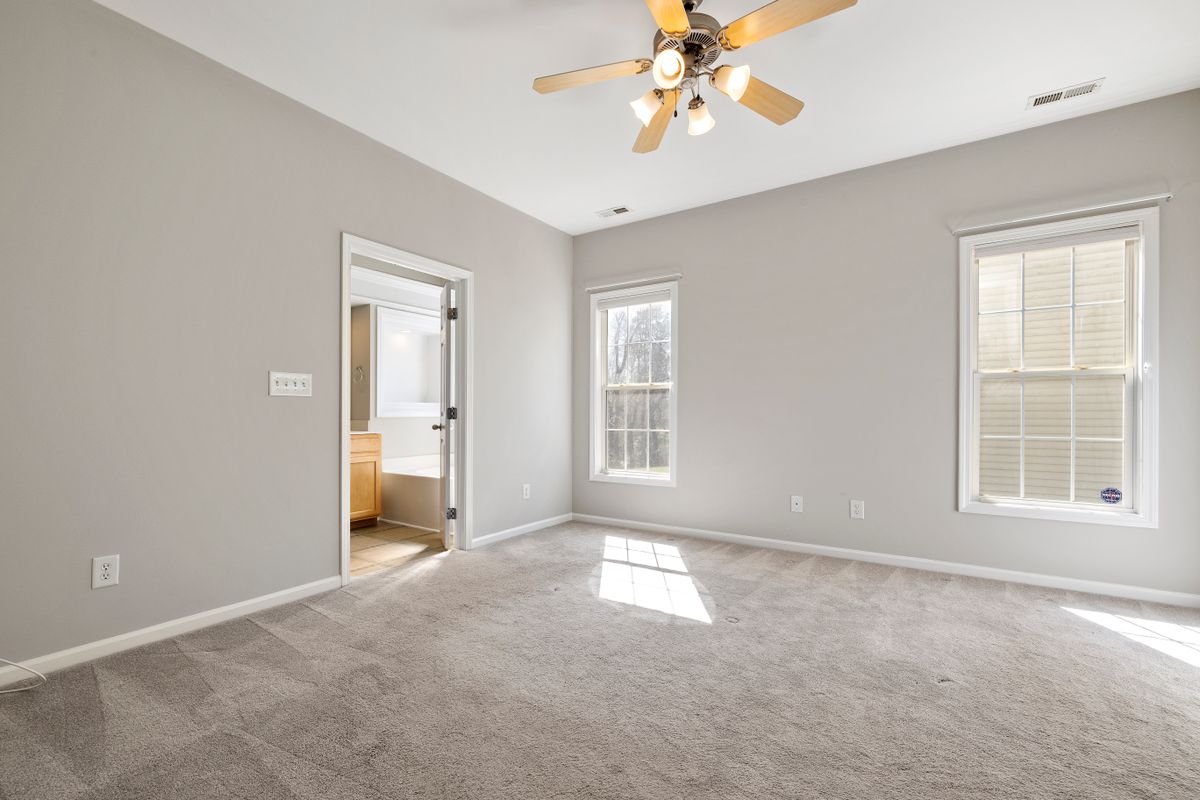
How to Clean Baseboards Without Damaging Painted Walls
Cleaning baseboards is one of those household maintenance tasks that often gets overlooked until a bright streak of morning sunlight reveals months of accumulated dust, pet hair, and dark shoe scuffs. However, tackling dirty baseboards presents a subtle challenge for homeowners and renters alike. The baseboards themselves are usually finished with smooth semi-gloss or satin paint, while the drywall directly above them is often coated in flat, matte, or eggshell paint. One wrong scrub with a soaking wet sponge, an aggressive chemical cleaner, or an abrasive scouring pad can easily strip paint, leave unsightly water lines, or raise delicate drywall paper. Quick Answer To clean baseboards safely without damaging painted walls or trim, start with a thorough dry vacuuming using a soft brush attachment to remove loose dust. Next, mix a few drops of mild liquid dish soap, such as Dawn dish soap, into a bucket of warm water. Dip a clean microfiber cloth into the solution and wring it out thoroughly until it is barely damp to the touch. Wipe down the trim in smooth horizontal strokes, keeping the damp cloth strictly away from flat wall paint above the baseboard. Follow immediately with a dry microfiber cloth to absorb lingering moisture. For stubborn scuff marks, gently buff with a damp cloth dipped in a small pinch of dry baking soda. Never saturate walls, and avoid harsh chemicals or abrasive pads.
Why Painted Walls and Baseboards Get Damaged During Cleaning
Understanding why wall paint and wood trim sustain damage during cleaning helps you avoid costly paint touch-ups or deductions from a rental security deposit. Paint formulations and sheen levels vary significantly across home surfaces. Baseboards are typically coated with semi-gloss or satin latex paint, which cures into a flexible, durable, and somewhat water-resistant shell. In contrast, standard interior walls, particularly in living rooms and bedrooms, often feature flat or eggshell paint sheens. Flat paint contains higher pigment levels and lower resin binders, creating a soft, velvety appearance that hides drywall flaws but renders the surface highly porous and sensitive to friction. When water or liquid cleaners touch flat wall paint, the porous surface absorbs moisture rapidly. Dampening flat paint softens the binder, leading to burnishing—a permanent shiny spot caused by rubbing—or complete paint removal that exposes the light gray drywall paper beneath. Furthermore, excessive water running off the trim can seep behind baseboards or into floor seams. This excess moisture can cause solid wood or medium-density fiberboard (MDF) trim to swell, warp, or pull away from the wall. In rental units where paint coats are applied thinly or without adequate primer, over-wetting can break the bond between paint layers, causing long ribbons of paint to peel away along the trim line. Materials Needed Gathering the proper cleaning supplies before beginning ensures a safe, efficient process that protects walls and flooring.
- Vacuum cleaner with a soft brush attachment or crevice nozzle
- Microfiber cloths (four to five clean, lint-free towels)
- Mild liquid dish soap (such as Dawn dish soap)
- Warm water
- Small bucket or basin
- Cotton swabs or a soft-bristled toothbrush
- Baking soda (for minor scuff removal)
- Dryer sheets (optional, for post-cleaning dust resistance)
- Low-tack painter's tape or a painter's shield (optional, for protecting carpet or flat wall paint)
Step-by-Step Instructions Follow these sequential steps to safely restore your baseboards without leaving water marks, streaks, or paint damage.
Step 1: Clear the Room Perimeter
Begin by pulling light furniture, floor lamps, and extension cords six to twelve inches away from the walls. If you live in an apartment or rental property, inspect the baseboard perimeter for pre-existing paint chips or drywall repairs. Pay attention to where the baseboards meet your floor material. If working next to wall-to-wall carpet, slide a clean drywall taping knife or painter's shield along the carpet edge to press down carpet fibers and shield them from damp tools. For hard flooring such as luxury vinyl plank (LVP), solid hardwood, or tile, sweep the floor edge first so loose grit does not scratch the trim while you work.
Step 2: Perform a Thorough Dry Dusting
Never apply liquid cleaning solutions to dry, dusty baseboards. Adding water to dry dust creates a muddy slurry that settles into wood seams, small cracks, and nail head indentations. Use a vacuum cleaner fitted with a soft dust brush attachment to sweep along the top ledge and face of the trim. Focus extra attention on the narrow top lip of the baseboard, where dust settling from room air movement and nearby HVAC vents accumulates continuously. If you do not have a vacuum with a soft brush, wipe the entire length of the trim with a dry microfiber cloth or a long-handled microfiber duster.
Step 3: Mix a Gentle Cleaning Solution
Fill a small bucket with warm tap water and add three to four drops of mild liquid dish soap like Dawn. Stir gently until suds form. Avoid adding extra soap; excessive cleaner leaves a soapy film on the baseboards that actually attracts fresh dust faster once dry. This simple solution acts as a gentle surfactant, lifting grease, skin oils, and household grime without weakening paint resins or degrading underlying adhesives.
Step 4: Wipe Trim with a Barely Damp Microfiber Cloth
Submerge a clean microfiber cloth into your soapy water and wring it out completely until no water drips when squeezed. The cloth should feel slightly damp, not wet. Fold the cloth into quarters to create multiple usable working surfaces. Carefully wipe the face and top edge of the baseboard using horizontal, sweeping motions. Work in manageable sections of three to four feet. Keep the damp cloth confined strictly to the trim, taking care not to drag wet fabric onto flat or eggshell wall paint directly above the baseboard.
Step 5: Detail Corners, Crevices, and Scuff Marks
Baseboard corners, quarter-round moldings, and inside trim joints tend to collect concentrated soil. Use a cotton swab or a soft-bristled toothbrush dampened in your cleaning solution to clean out tight crevices and around nail holes. For light shoe or vacuum rubber scuffs on semi-gloss trim, apply gentle pressure with your damp microfiber towel. If a stubborn scuff remains, dampen a small corner of the towel, dip it into a pinch of dry baking soda, and buff the scuff mark softly. Baking soda provides a very fine, non-damaging abrasive action that lifts scuffs without dulling standard semi-gloss paint sheens.
Step 6: Dry the Trim Immediately
After wiping down a section, follow immediately with a clean, dry microfiber cloth. Thoroughly dry the top lip, face, and floor seam of the baseboard. Prompt drying prevents water from lingering in wood joints, swelling MDF core material, or wicking upward into drywall paper.
What NOT to Do
Avoiding common cleaning missteps is just as crucial as using the right techniques when working near painted drywall.
- Do not use melamine foam sponges (such as Magic Erasers) on flat or eggshell wall paint. Melamine foam acts like ultrafine sandpaper. While it removes dirt quickly, it strips paint sheens instantly, leaving permanent glossy or faded patches on matte walls.
- Do not saturate your tools or pour water near baseboards. Dripping wet sponges force water behind the trim and into floor underlayments, encouraging mold growth, drywall swelling, and paint bubbling.
- Do not use undiluted household ammonia, heavy-duty industrial degreasers, or solvent-based cleaners on latex paint. Highly alkaline or solvent cleaners break down chemical bonds in latex paint, causing the surface to turn sticky, fade, or wash away completely.
- Do not scrub hard along the caulked top seam where the baseboard meets the wall. This thin bead of latex caulk seals the gap between wood and drywall; aggressive scrubbing can tear or lift the caulk line, leaving open gaps that collect dirt.
- Do not use harsh scrubbing pads, steel wool, or stiff wire brushes on painted wood surfaces. These rough materials scratch smooth protective paint coatings, leaving micro-grooves that trap future dust and accelerate wear.
Safety and Material Warnings Safety and material compatibility must be prioritized whenever cleaning chemical products and residential finishes are involved. Chemical Gas Hazard: Never mix chlorine bleach with ammonia, vinegar, acids, or other commercial cleaning products. Combining bleach with acids or ammonia generates hazardous chloramine or chlorine gas, which causes severe respiratory irritation, burning eyes, and serious health complications. Always read product safety labels carefully before combining solutions. Floor Finish Protection: If your painted baseboards sit directly above natural stone flooring—such as polished marble, travertine, slate, or limestone—do not use vinegar or acidic cleaning products. Acid drips or overspray etching into natural stone cause permanent chemical dulling and calcification damage that requires professional restoration. For solid hardwood or engineered wood floors, excess moisture trapped along the baseboard seam can cause plank edges to cup or warp. Ventilation and Label Rules: Always maintain reasonable airflow when using commercial cleaning sprays or spot treatments in enclosed rooms. Open interior doors or operate ceiling fans to keep air moving, and follow all product application and safety instructions printed on manufacturer labels. Maintenance Tips Keeping baseboards clean requires significantly less physical effort when sensible preventive routines are put in place.
- Apply the Anti-Static Dryer Sheet Method: After baseboards are completely clean and dry, rub them with a fresh or gently used fabric softener dryer sheet. The anti-static agents in the sheet deposit a thin coating that neutralizes static charges on the painted surface, causing airborne dust and pet hair to glide off rather than stick.
- Change HVAC Filters Regularly: A significant portion of the fine gray dust settling on top of baseboards originates from central forced-air heating and cooling systems. Replace your HVAC air filters every 60 to 90 days—or every 30 days during peak seasonal use—to trap floating dust particles before they drift onto trim and registers.
- Adopt a Top-Down Cleaning Order: Always dust ceilings, light fixtures, window sills, and furniture before cleaning your baseboards. Dust falling from upper room levels during routine cleaning naturally settles onto lower baseboards. Cleaning trim last prevents repeating your work.
- Schedule Seasonal Deep Cleaning: Incorporate a dry vacuuming of baseboard ledges into your monthly cleaning checklist. A full damp-wipe routine is generally only required twice per year, such as during spring and fall deep cleaning.
Frequently Asked Questions
Can I use vinegar to clean painted baseboards?
While diluted white vinegar can be used on durable semi-gloss painted trim, caution is recommended. Vinegar is acidic, and frequent use of acidic liquids can gradually dull glossy paint finishes over time. Furthermore, any vinegar solution running down off the baseboard will etch adjacent natural stone floors like marble or travertine. A simple solution of warm water and a few drops of Dawn dish soap is safer for both paint sheens and surrounding floor materials.
How do I remove scuff marks without stripping the paint?
Start by wiping the scuff mark with a damp microfiber cloth and light pressure. If the scuff remains, apply a tiny drop of liquid dish soap directly to the cloth, or dip a damp towel corner into a small amount of dry baking soda. Gently buff the mark in circular motions. Baking soda provides a soft abrasive action that removes rubber scuffs without stripping sound paint layers. Avoid melamine foam pads on flat wall paint, as they strip the finish immediately.
What is the safest way to clean baseboards next to wall-to-wall carpet?
To clean baseboards along carpeted edges without wetting the carpet fibers or padding, press a broad drywall taping knife, plastic putty scraper, or painter's shield between the carpet and the bottom of the baseboard. This pushes the carpet pile down and isolates it from your cleaning tools. Alternatively, line the carpet edge with low-tack painter's tape. Use a tightly wrung, barely damp microfiber cloth so liquid cannot drip down into the carpet padding.
How do I clean baseboards if I have flat paint on the drywall directly above them?
Flat paint is highly vulnerable to water damage and friction burnishing. If you are concerned about your hand slipping while wiping the baseboard, apply a strip of low-tack painter's tape along the very bottom edge of the wall just above the baseboard cap. Fold your damp microfiber cloth into a tight, manageable square so you can precisely control where the damp fabric contacts the wood trim. Always wipe parallel to the trim, never wiping upward onto flat wall paint.
Why does dust settle on baseboards so quickly during the winter months?
Winter heating systems lower indoor relative humidity, which increases static electricity throughout the home. Static charges actively attract fine airborne particles, pulling floating dust directly onto hard surfaces like painted wood trim. Combined with increased HVAC blower run time circulating dust from air vents, baseboard ledges accumulate dust rapidly. Wiping clean baseboards with an anti-static dryer sheet helps neutralize this charge and drastically reduces winter dust buildup.